SLA
- jPlugs
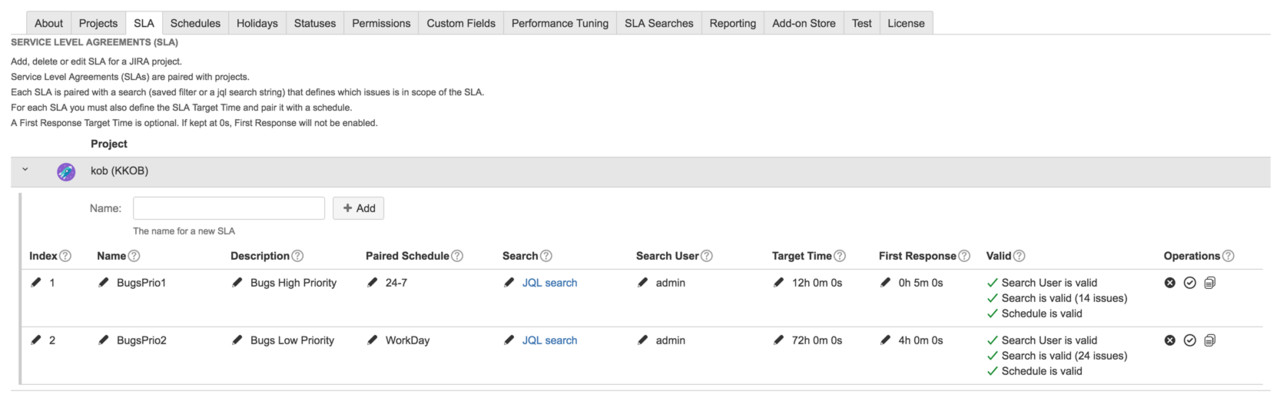
You can have multiple SLAs for a project. A SLA can only be paired with one project.
Read more about how to configure the SLA Search at Searches - How to make it do want I want
| Action | How |
|---|---|
Add a new SLA |
Type a name for the SLA and click the + Add button. |
| Delete a SLA |
Click the delete icon and confirm. |
| Copy a SLA |
Click the copy icon and select destination project. |
| Validate a SLA |
To refresh the SLA validation click the check icon. |


| Attribute | What it does |
|---|---|
| The index defines the search order of a matching SLA for an Issue. If two or more SLAs have searches that includes the same issue. The SLA with the lowest index will be used. |
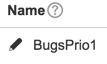
| The name of the SLA. Short names is recommended. |
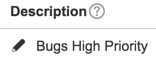
| An optional description of the SLA. |
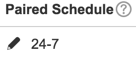
| A SLA must be paired with a Schedule. The schedules defines on which days and in which period of the day spent time for an issue in scope of the SLA will increase. |
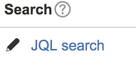
| The search is used to define which issues are in scope of the SLA. A search can be a saved filter or a JQL search string. Note that a search will be appended with a search AND-clause for the SLA parent JIRA project. |
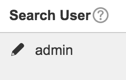
| The search user is the JIRA user which performs the search. The Search User must have Browse Project permission and Edit Issue permission. |
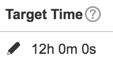
| The SLA Target time defines the available time for an issue. |
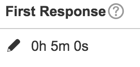
| The First Response time defines the available time before a First Response must be performed. To disable First Response for a SLA leave it at (or configure it to) 00:00:00. |
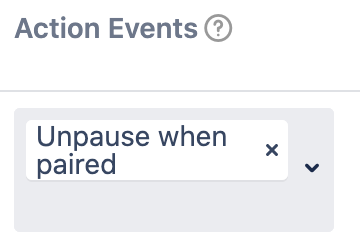
| Action Events allow you to select an action to be fired after a SLA issue update. |
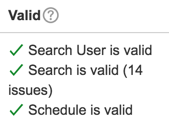
| Displays whether or not a SLA is configured correctly. |
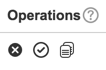
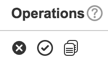
| A SLA can be deleted or copied to another SLA. |